Pre-Conditions
Here I’m not going to detail describes these things in this document. If you want to configure MonkeyTalk to your Android emulator, first you should do these things. If you already fulfill below tasks, please ignore this section and jump to next heading.
- Get downloaded Eclipse
- Get downloaded Android SDK
- Configure Android SDK to Eclipse
- Install AspectJ plug-in to Eclipse
- A sample Android project
- Get downloaded MonkeyTalk
Now, we can see how configure Eclipse
Configure Eclipse
Follow given steps in order to configure Eclipse project to your MonkeyTalk
- Open eclipse
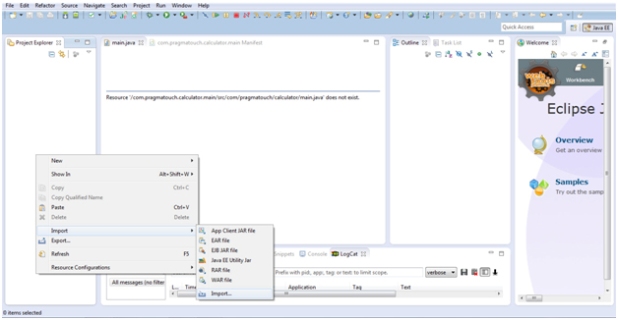
- Import the sample project to eclipse
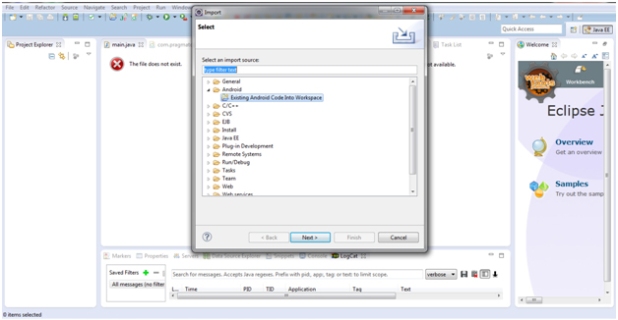
- Select Existing Android project and click Next
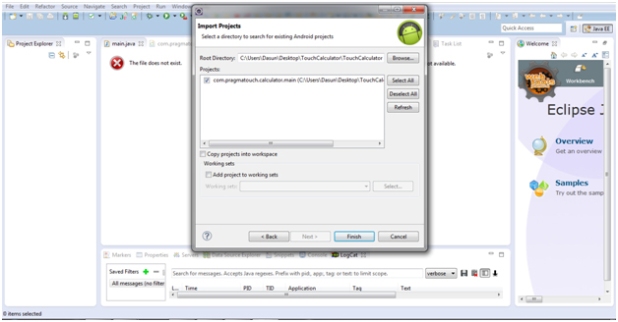
- Browse your Android project and click Finish
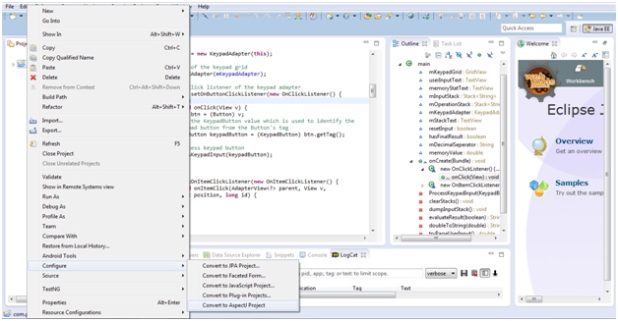
- Right click on your impetrated project in project explorer > configure > Convert to AspectJ project
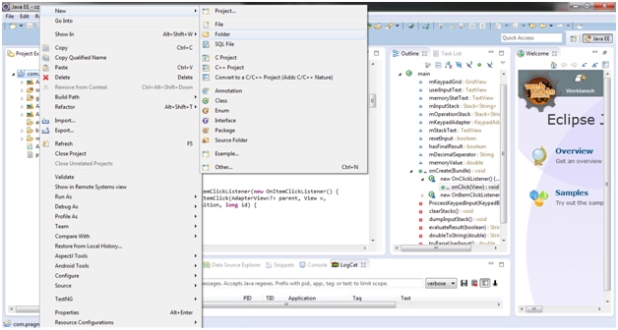
- Right click your exported project > New > Folder
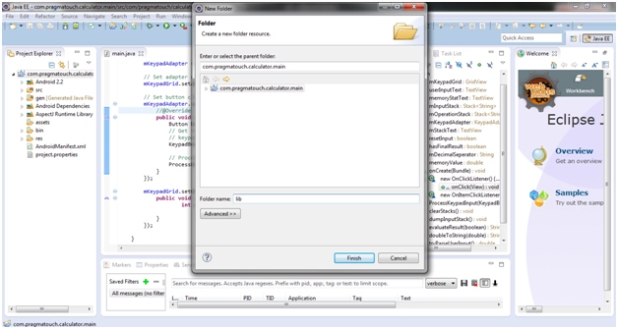
- Give a Name to folder (e. g. lib) and click Finish
- Go to downloaded MonkeyTalk folder \MonkeyTalk\agents\android
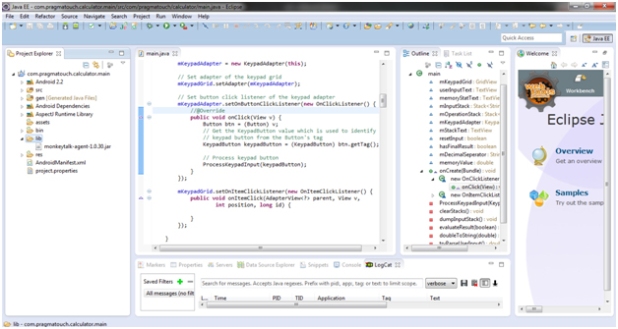
- Copy monkeytalk-agent-1.0.30 jar file
- Paste it to newly created folder in MonkeyTalk
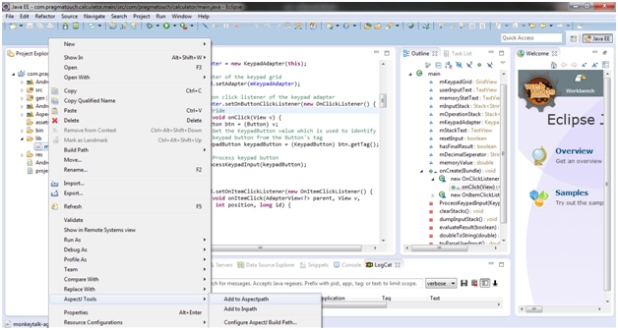
- Right click on that jar file > AspectJ Tools >Add to Aspectpath
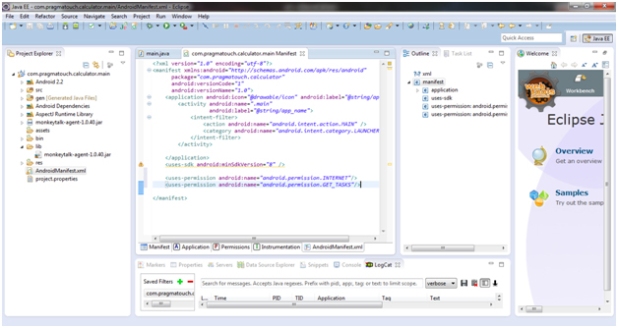
- Open Android Manifest
- Go to AndroidManifest.xml tab
- Add these access permissions and save it
<uses-permission android:name=“android.permission.INTERNET”/>
<uses-permission android:name=“android.permission.GET_TASKS”/>
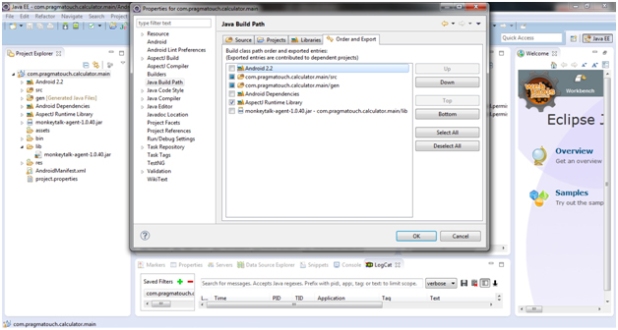
- Go to project properties by Right click > Properties
- Go to Java Build Path
- Make a ticked for AspectJ Runtime Library
- Click OK
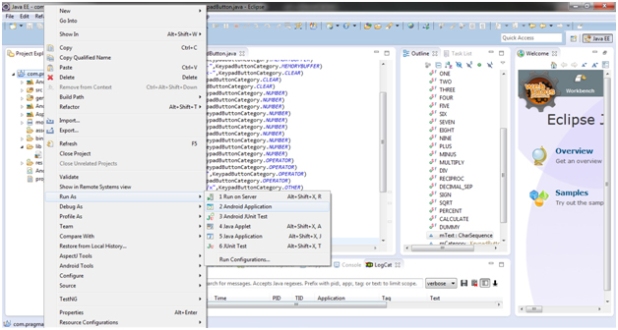
- Right click on the project > Run As > Android Application
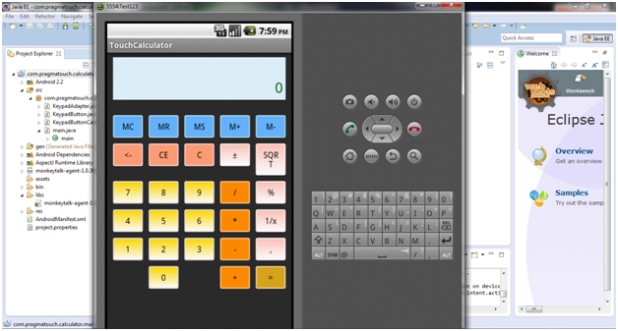
- App is running now
Configure emulator to MonkeyTalk
Our next step is configuring running emulator to MonkeyTalk. So, minimize your emulator and Eclipse before you start.
Note: Do not close your emulator.
- Open MonkeyTalk IDE
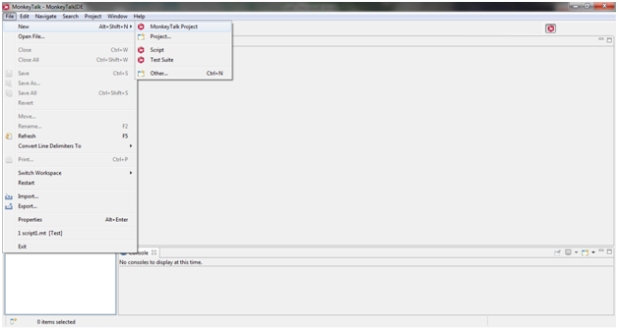
- Go to File > New > MonkeyTalk Project
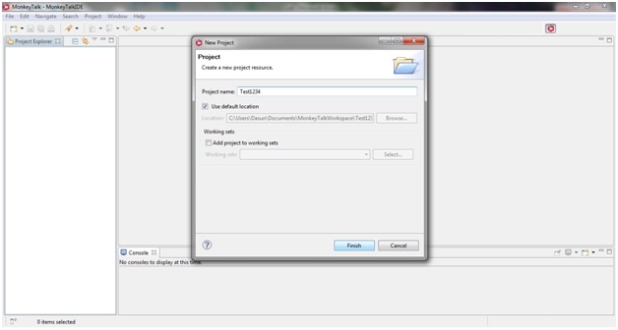
- Give a relevant name and click Finish
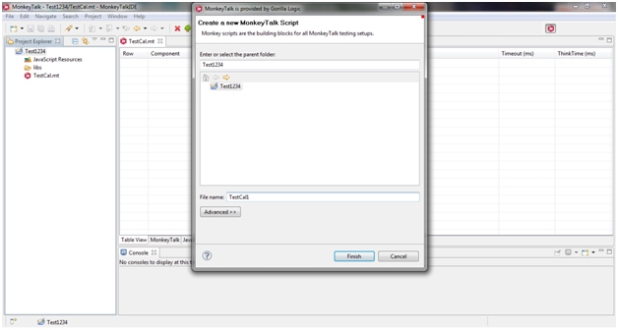
- Right click on the project > New > Script
- Give a name for the script and click Finish
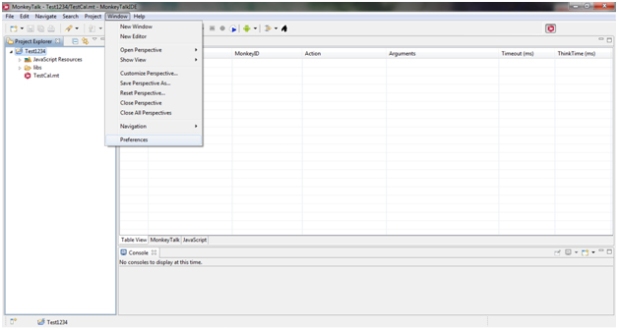
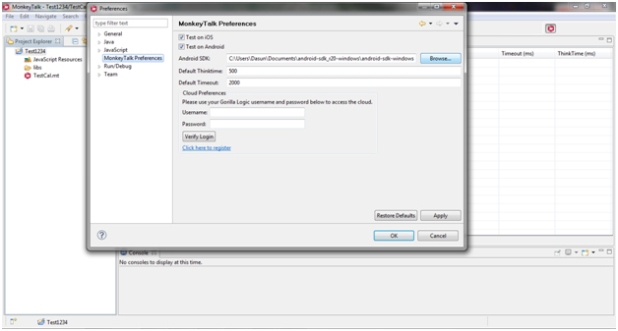
- Click Window > Preference
- Click MonkeyTalk Preference > Browse the Android SDK path > Apply > OK
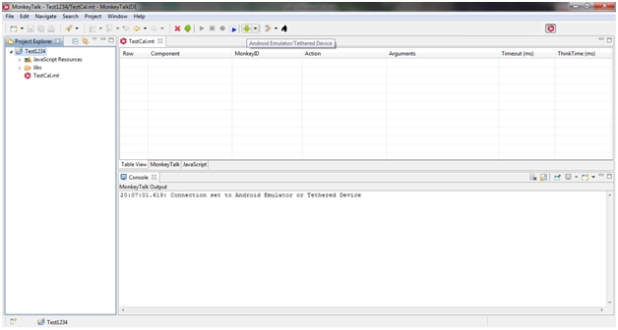
- Click Connect to Emulator button
- When it connects successful, you be able to the message in console area.
- Now you can start record and play 🙂
See you soon folks
“Back to Journey..”
To Download the PDF, Click here.
To watch my Presentation, Click here.
